Recently, I became a fan of YubiKeys - hardware encryptions keys used for storage of PGP keys, FIDO U2F (two-factor authentication) and more. The PGP keys stored on the device can also be used as RSA keys for SSH authentication. The setup is quite simple on MacOS.
To make the most out of the YubiKey on MacOS, you’ll need GPGTools - a set of tools which will allow you to easily use and manage PGP keys on MacOS.
I’m going to assume you have your YubiKey configured and keys generated (probably using gpg --card-edit) - you can use
those keys to sign, encrypt and decrypt messages, emails, etc. But, GPGTools come with one more very handy
utility: gpgkey2ssh, which can convert PGP keys in RSA keys used by SSH. So you are able to use your keys when
connecting via SSH, the GPGTools provide a gpg-agent, which (among other things) allows SSH to get access to keys
stored externally. By default gpg-agent is not enabled to provide the keys for SSH. To enable that option, add the
following lines to your ~/.gnupg/gpg-agent.conf:
| |
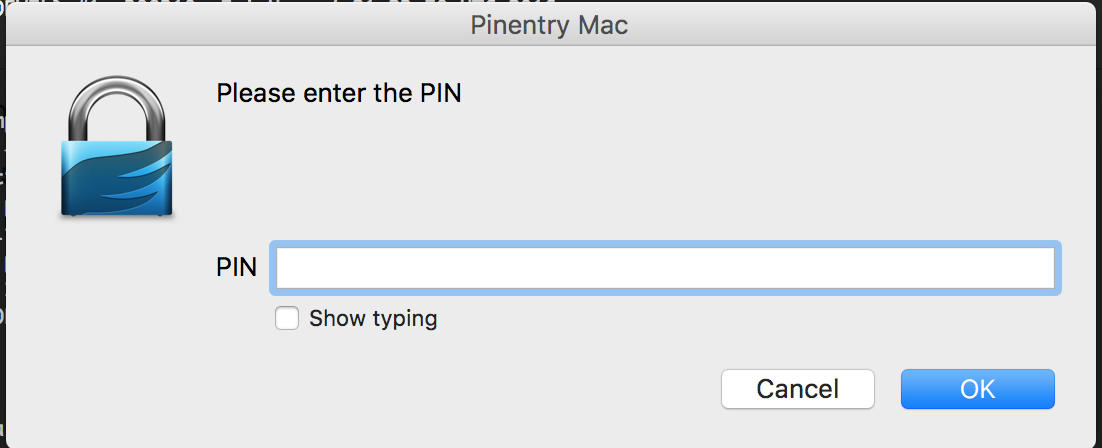
This will enable the SSH support, provide the path to the app which will be used to ask for your YubiKey PIN and write the environment information into a file (more on that below).
It’s also a good idea to specify TTLs for how long the agent should store your PIN in memory. To set it, add the
following to your gpg-agent.conf:
| |
If you want to enable logs for gpg-agent (if you’re having issues and want to debug):
| |
After setting the values you can restart gpg-agent - or simply logout and login (or restart your machine).
The env file
In the above settings we enabled an option write-env-file - this will make gpg-agent write a series of environment
variables to (default) ~/.gpg-agent-info file. Those variables are needed so that SSH can detect that you’d like it to
use the gpg-agent as a provider of your authentication key.
To make use of that file, run the following:
| |
You probably want to add the above lines to your ~/.bash_profile or similar.
To validate that your key is available to SSH, run: ssh-add -L. You should see your public RSA version of your PGP key
displayed. If it’s supplied by your YubiKey, the key will end with something like this: cardno:00012345678
Now, when connecting via SSH, plug in your YubiKey and you should be asked for your PIN.
You should see a log similar to this, when using ssh -v:
debug1: Next authentication method: publickey
debug1: Offering RSA public key: cardno:00012345678


