Launching the server (single instance)
To launch a new, single instance of the server, follow those steps:
Go to AWS Marketplace product page: Launch in AWS
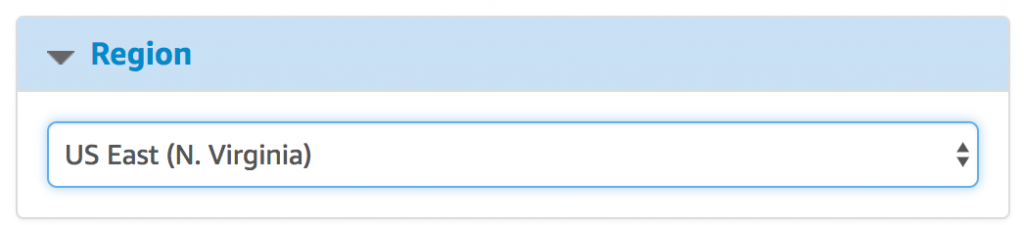
Under Pricing information box, select desired AWS Region in For Region box and make sure Delivery Methods has selected Single AMI.
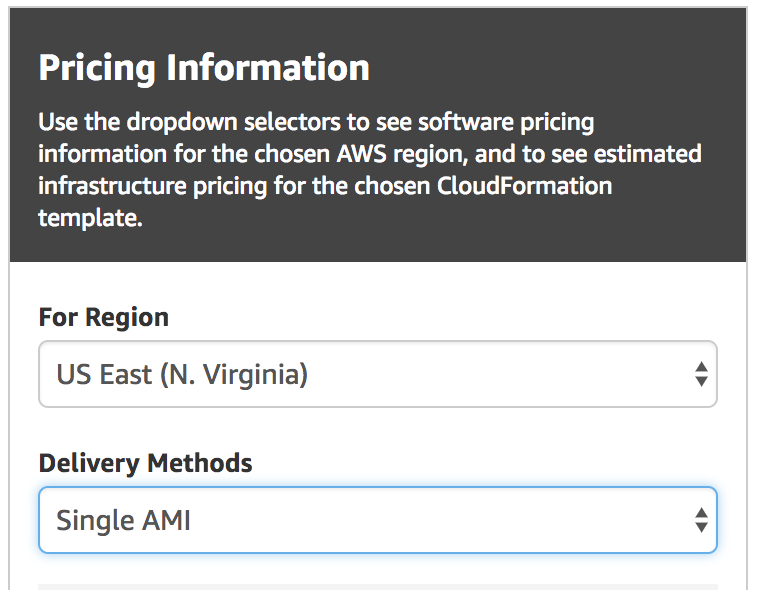
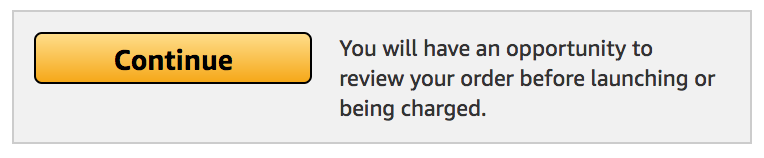
Press Continue button.
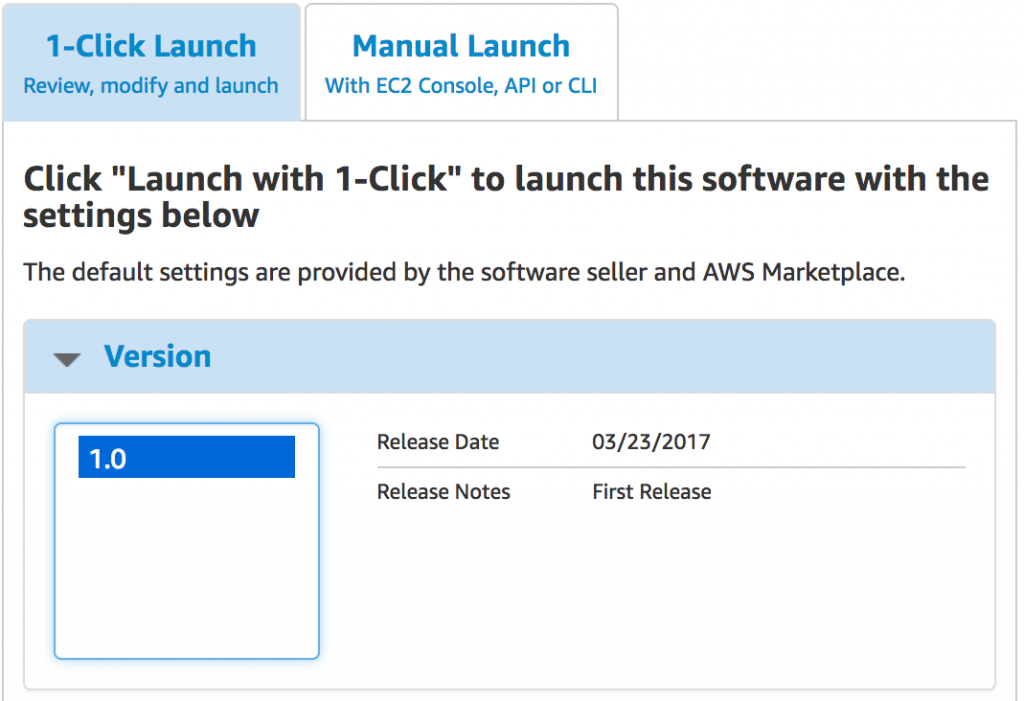
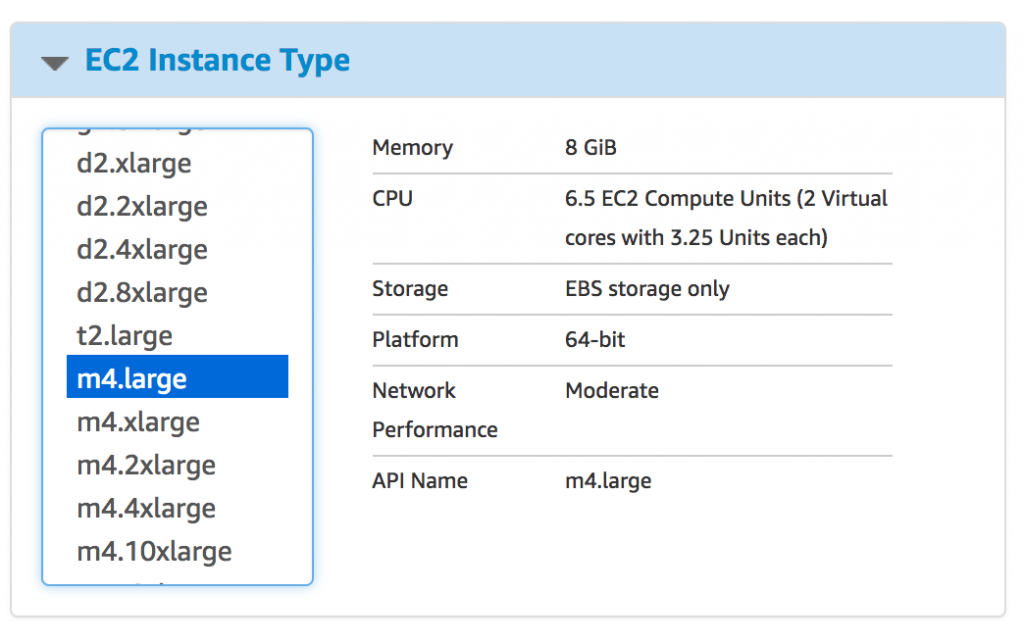
Under 1-Click Launch tab, choose the latest version and EC2 Instance type. Validate your selected Region.
VPC settings are also available, your default VPC and subnet will be chosen, but you can change the selection if required. Remember that if you’re using an existing subnet, it needs to have an internet gateway configured for internet access.
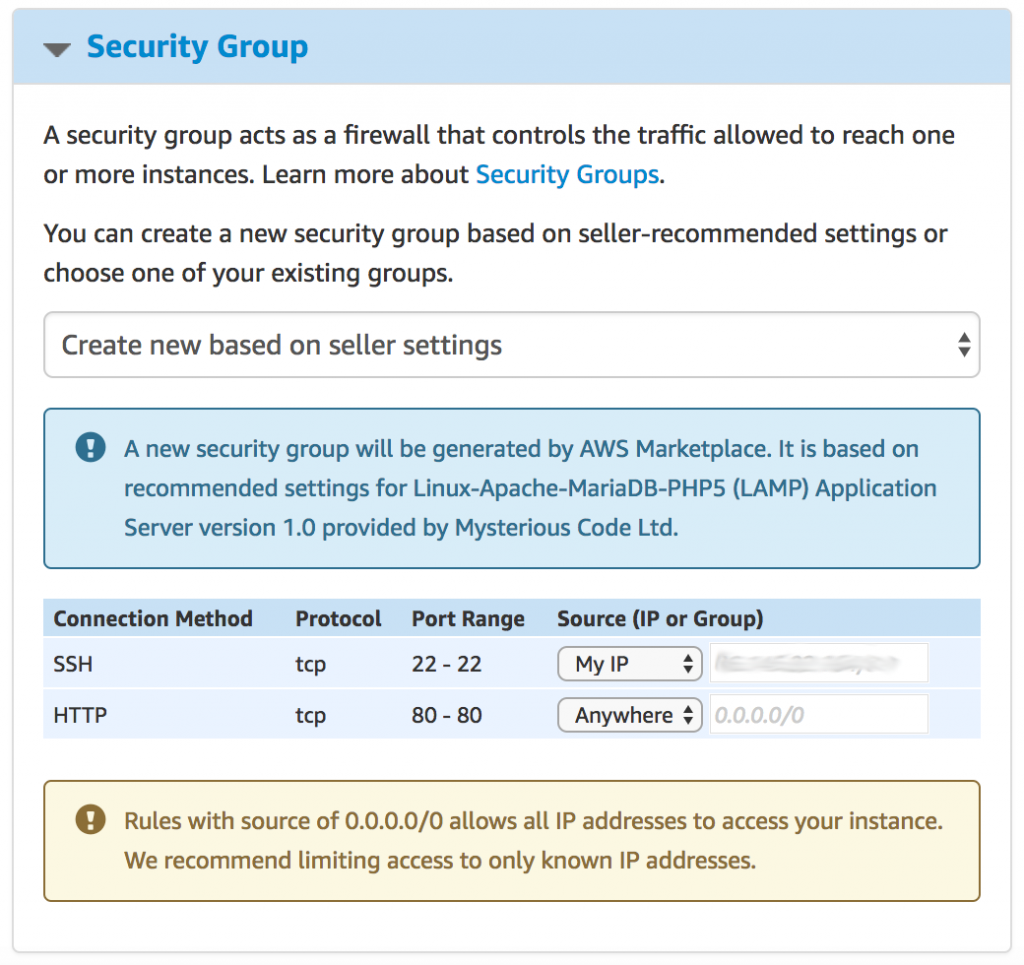
Configure security group for your instance. We recommend opening port 22 only to your IP address: select My IP under Source for SSH (port 22). For HTTP access, choose Anywhere.
Choose a Key pair for SSH access.
You can review your cost estimates in the box on the right-hand side.
To launch your instance, click Accept Software Terms & Launch with 1-Click button.
Your instance will now be launched!
To validate your instance is running, go into AWS Console, find your instance’s public IP and paste it into your browser. You should see a welcome message from your running server!
Launching production-ready infrastructure (CloudFormation stack)
To launch auto-scaling infrastructure using CloudFormation template, follow those steps:
Go to AWS Marketplace product page: Launch in AWS
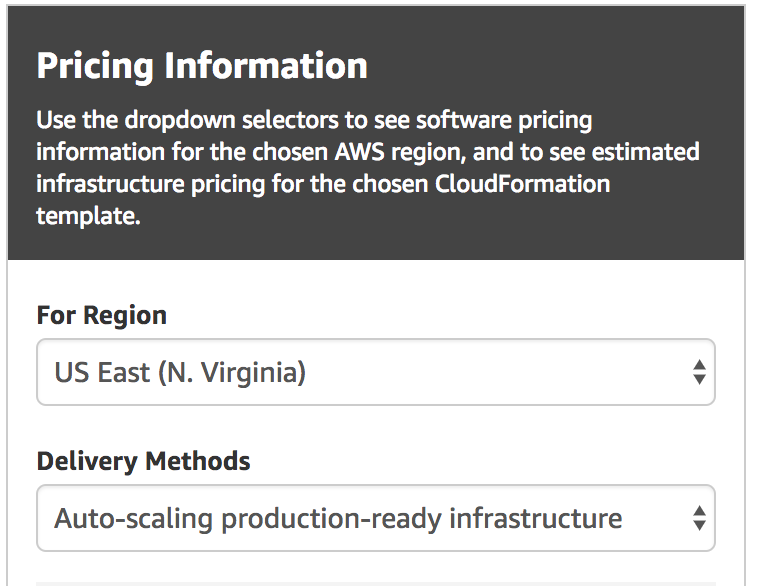
Under Pricing information box, select desired AWS Region in For Region box and make sure Delivery Methods has selected Auto-scaling production-ready infrastructure.
Press Continue button.
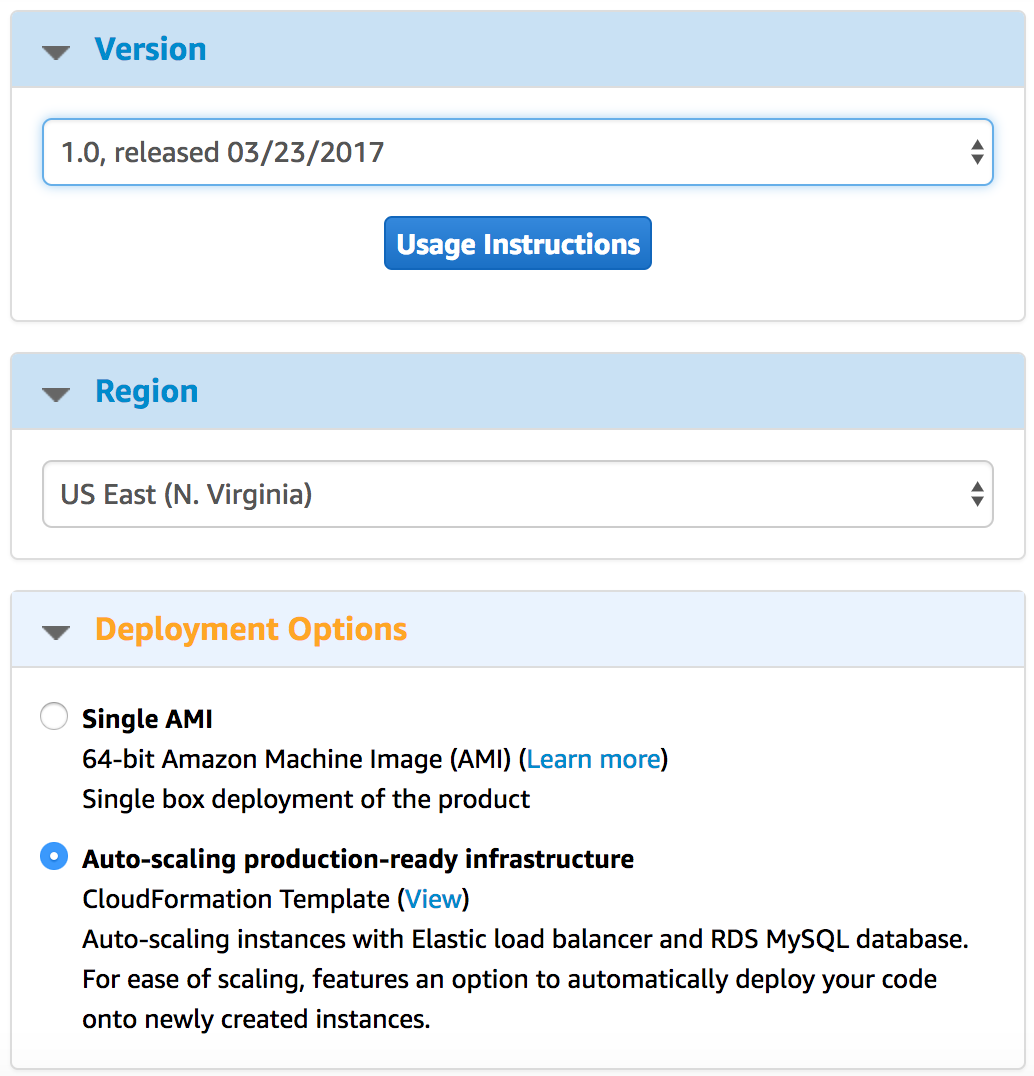
Under Manual Launch tab, choose the latest version and validate your selected Region. Under Deployment Options make sure Auto-scaling production-ready infrastructure is selected. You can view the infrastructure diagram by clicking the View link next to CloudFormation Template.
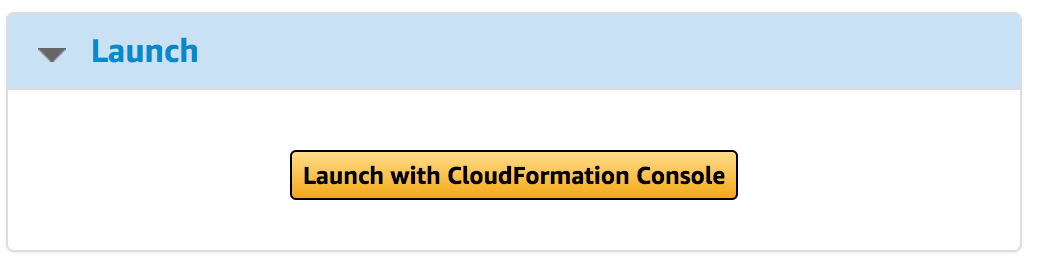
Press Launch with CloudFormation Console button.
You will be taken to CloudFormation Console in your AWS account. Press Next in the bottom right-hand side of the screen.
Chose an appropriate name for your stack, fill out the Stack name parameter.
Refer to the description of parameters below to choose the best values for your needs.
Press Next twice, confirm stack creation by checking I acknowledge that AWS CloudFormation might create IAM resources and press Create.
Description of CloudFormation template parameters
Required parameters
Section: Required parameters. All other parameters can be skipped to use defaults.
- Choose a database password - choose a password for the main administrator (root) account of the database.
- Choose a key pair - from the list, choose an SSH key to use for access to your instance.
- Your IP address - input your IP address to allow for SSH access to the instance. Web server access will be allowed for everyone. If you’re unsure what your IP is, Google “What’s my IP”.
All the other parameters can be skipped and default values will be used.
Automated scaling and deployment of your application
We recommend filling out the two options described below to allow for automated scaling. They will allow for new instances to be launched and your application code will be downloaded from provided S3 bucket and extracted into /var/www/html/ to be served by the web server.
Section: For automated scaling: source of the application to be automatically unpacked.
- Name of S3 bucket - name of an existing S3 bucket in your account.
- File inside S3 bucket - name (and path) of an archive inside the S3 bucket. EC2 instance will be given permissions to access this file. It can be any commonly used archive, like zip, tar, tar.bz2, tar.gz and more.
Tip: to implement continuous integration of your code, you can add a version (or simply a random) string to the archive file name. Then simply update the value of File inside S3 bucket parameter to launch new instances which will download the new version of your application.
Specifying your own CIDR blocks for the VPC
The stack will create a new VPC for the web server and database. If you’d like to provide your own CIDR blocks for this VPC and its subnets, instead of using the defaults, you can use the parameters described below to do it. If you choose to do so, all parameters in this section are required. If not, leave all of them empty.
Section: Advanced Step 1: VPC
- CIDR block for the VPC (advanced) - IPv4 CIDR block to be used for the whole VPC, for example:
172.1.0.0/16 - 1st private CIDR (advanced) - IPv4 CIDR block for the first private subnet, for example:
172.1.1.0/24 - 2nd private CIDR (advanced) - IPv4 CIDR block for the second private subnet, for example:
172.1.2.0/24 - 1st public CIDR (advanced) - IPv4 CIDR block for the first public subnet, for example:
172.1.128.0/24 - 2nd public CIDR (advanced) - IPv4 CIDR block for the second public subnet, for example:
172.1.129.0/24
Modifying RDS database settings
You can modify default settings used for the new RDS database to be created.
Section: Advanced Step 2: Database
- Database storage (advanced) - storage size in GB for RDS database.
- Database instance class (advanced) - instance class for RDS database. For information on different classes, refer to AWS documentation. At the moment we only support Burst Capable Current Generation (t2) and Standard Current Generation (m4) instances. If you require a different class, please get in touch.
- How long to keep backups (advanced) - number of days the automated snapshots of your database should be kept for.
Instance settings
Section: Advanced Step 3: Instance and load balancer
- Instance class (advanced) - instance class for your web server. For information on different classes, refer to AWS documentation. If the class you’d like to use if not specified, please get in touch.
- SSL certificate for HTTPS access (advanced) - ARN for SSL certificate in ACM to be used by load balancer for HTTPS connections. On information how to upload your SSL certificate to ACM, see Load Balancer - enabling HTTPS (SSL) support below.
Connecting to your sever
You can connect to your instance via SSH, on default port 22. Make sure to choose your IP address for the SSH access in the instance’s security group.
Uploading your application
Upload your application to /var/www/html/. If index.php file is present, it will be served. Otherwise index.html will be used. If both are missing, a default welcome page prepared by us will be shown.
Retrieving your database credentials
If you’re running a single instance, your MariaDB (MySQL) password is generated and set during first boot and saved in /home/centos/.my.cnf file in the password field. Simply type mysql to connect.
If you’re using a CloudFormation stack, MariaDB on your EC2 instances will not be started. Password to your RDS instance will be set to the value you input when creating the CloudFormation stack.
Modifying configuration
The base configuration should be sufficient for most tasks, but shall you wish to modify it, here are the instructions:
Apache (httpd)
You can set local rewrites and access rules by placing .htaccess files in directories you want to overwrite default rules for. Consult Apache Documentation for that topic.
If you need to change default configuration, the virtual host configuration can be found in /etc/httpd/conf.d/vhosts.conf. After modifying it, you need to check if the configuration is correct by running apachectl configtest. You need to fix all errors before restarting the httpd server, otherwise it’ll not start. If no errors were found, restart the httpd process with apachectl restart.
PHP
PHP is run as an additional module within httpd (Apache) web server. /etc/php.ini is used as the configuration file for the PHP. If you change any property in this file, you need to restart the Apache Server.
Load Balancer - enabling HTTPS (SSL) support
Note: this option is only available when you deployed the server with CloudFormation stack.
Elastic Load Balancer deployed with your server supports accepting HTTP and HTTPS requests. In order to enable HTTPS support, you need to provide a valid SSL Certificate:
Import your existing certificate
If you already have an SSL certificate that you wish to use, following this AWS documentation to import your certificate into AWS Certificate Manager.
Requesting a new certificate
If you need a new certificate, you can request AWS to generate one for you - follow this AWS documentation to make the request.
Add your certificate to the load balancer
Once your certificate is added in ACM, you can enable HTTPS (SSL) support in the load balancer, you need to identify the ARN (AWS Resource Name) of the certificate. To do that, go to ACM in your AWS Console (where you requested or imported the certificate) and select the certificate you want to use. You should see a list of details about the certificate, like on the screenshot below. The ARN is visible in the bottom right-hand side corner of the details (click on the image for full-size).
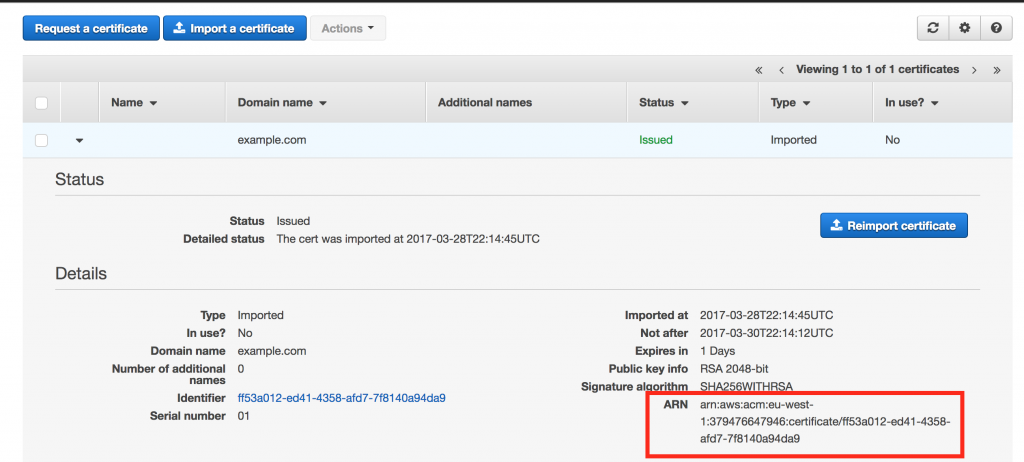 Copy the whole value (
arn:aws:acm:...) into the SSL certificate for HTTPS access parameter in your CloudFormation stack.
Support
Please refer to the documentation on this page for reference and help with common tasks. If you encountered a problem that is not documented or need to get in touch with us for any other reason, please contact us via email: aws-marketplace@mysteriouscode.com. We aim to respond as quickly as possible, usually within 24 hours.
Technical specification
The LAMP Application features the following software:
- Centos Linux 7 with latest updates
- Apache 2.4
- PHP 7.4
- MariaDB 10
Cloud template (CloudFormation stack) - technical specification
AWS CloudFormation template deploys the following resources:
- VPC with 2 private and 2 public subnets
- Elastic LoadBalancer within the public subnets
- EC2 instance with the LAMP7 Application Server, within an Auto-scaling group
- Scaling policies and alarms for the Auto-scaling group
- Pre-configured security groups for all resources


